The Backrooms With Guns Beginner Guide: Escape Tips
The Backrooms With Guns beginner guide covers modes, early weapon unlocks, Bloxy Cola, and the escape route. Learn the key steps and avoid deadly mistakes.
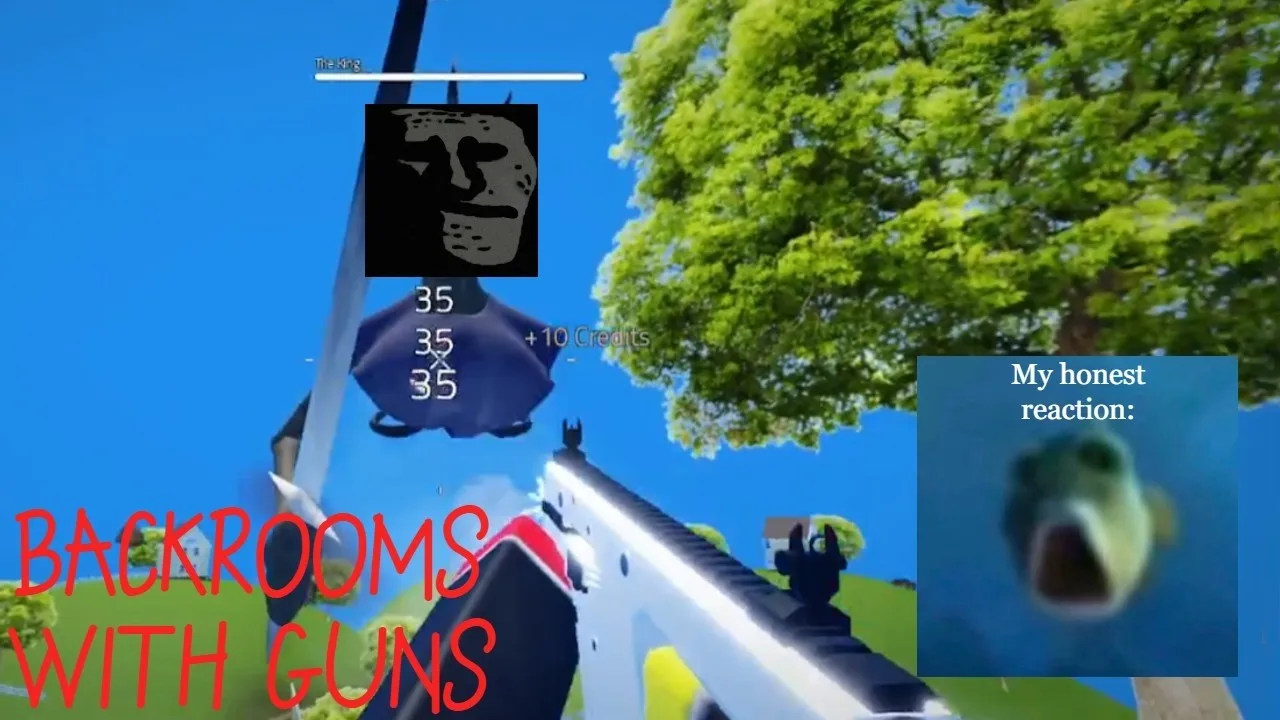
Ten kills unlock the Bloxy Cola you need to get escape instructions. The Backrooms With Guns beginner guide below walks you through choosing a mode, unlocking early gear, and reaching the escape core. Learn the objective sequence before heading deeper so you know which keys to collect and when to prepare for trouble.
Early Game: Choose Your Mode
1. Start in Classic to learn the map
Play The Backrooms With Guns on Roblox, then choose the mode that matches what you want to practice.
| Mode | Rules |
|---|---|
| Classic | PvE with infinite health and ammo |
| Survival | PvE with limited health and ammo |
| PVP | Fight other players |
Choose Classic while learning shop locations, corridors, and interactions. Move to Survival when you want health and ammunition management to become part of the challenge.
In Survival, ammo boxes and medkits can spawn around the map. Pick them up as you explore, and keep track of where supplies appear.
PVP has separate kill progression from the other modes. If your immediate goal is unlocking PvE equipment and following the escape objectives, keep your attention on PvE.
Combat and Resources: Learn the Early Unlocks
2. Make Bloxy Cola your first milestone
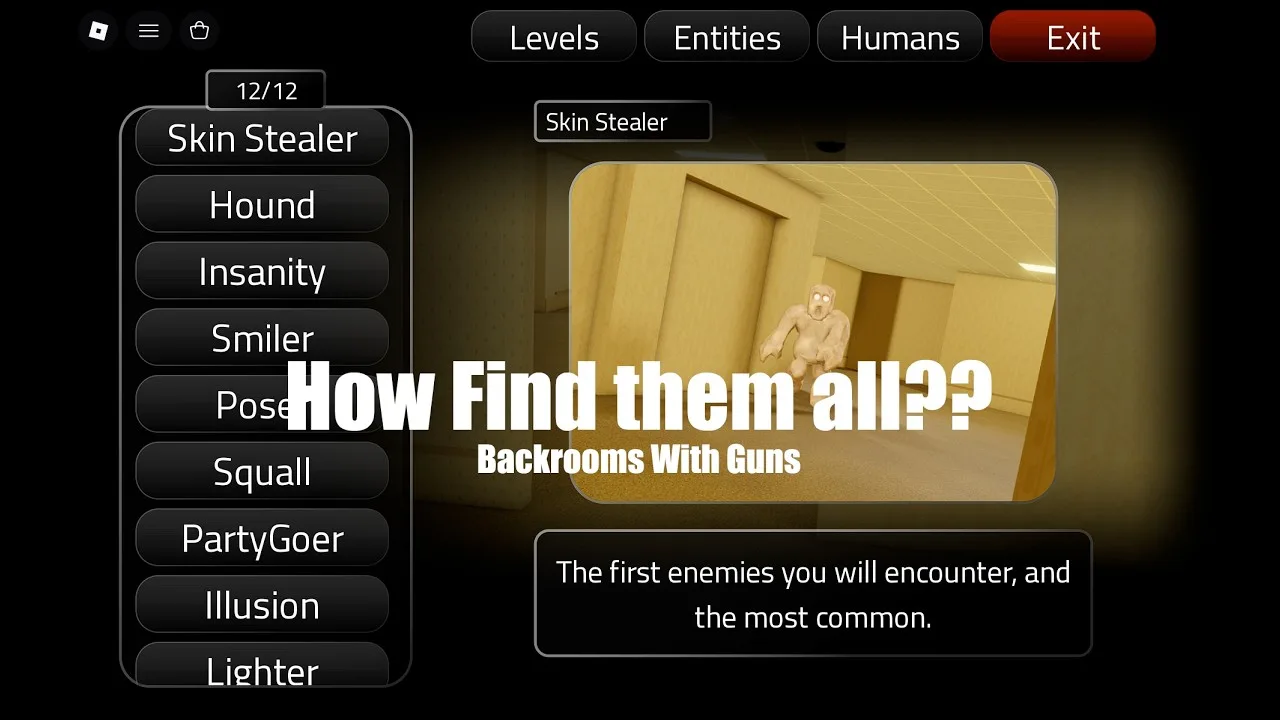
Daniel's Weapon Shop carries both weapons and Bloxy Cola. The Cola unlocks at 10 kills and is required for the NPC interaction that starts the escape instructions.
Use these early thresholds to decide when to revisit the shop:
| Item | Kill requirement at Daniel's Weapon Shop |
|---|---|
| Bloxy Cola | 10 |
| M1911 | 25 |
| .500 Magnum | 50 |
| M1 Garand | 100 |
| Remington 870 | 150 |
| MP5SD | 300 |
| M4A1 | 400 |
| AK-47 | 500 |
Get the Cola once you reach its requirement instead of putting off the escape task while chasing later weapons.
3. Match your preparation to the mode
In Survival, conserve ammunition and collect supplies before exploring farther. Keep a gun ready when entering the room marked “freedom”: more entities are waiting along that part of the escape route.
PVP also restricts some weapons. The M134 Minigun, M32 Grenade Launcher, Railgun, and Flamethrower game passes are unavailable in that mode. Check those restrictions before buying a weapon specifically for player combat.
Escape Route: Bloxy Cola, the Freedom Key, and the Window
4. Give the NPC his Cola
Follow the opening objectives in this order:
- Talk to the NPC who offers escape instructions.
- Reach 10 kills.
- Visit Daniel at the weapon shop and purchase Bloxy Cola.
- Return to the NPC and hand it over.
After the handoff, your next landmark is a sign reading “freedom.” Look for that wording as you explore.
5. Collect the key and find the window room
Once you locate the freedom sign:
- Enter the room with your gun ready.
- Find the key and hold the interaction button to collect it.
- Leave the room.
- Find the nearby large room with a window.
- Shoot the glass and enter through the opening.
- Hold the interaction button at the interaction point inside to teleport onward.
This key belongs to the opening section. The next area has a separate objective requiring three more keys, so continue searching after the teleport.
Escape Route: Office Keys and the Core
6. Search both floors for all three keys
The next set of keys is spread across offices:
- First key: In a nearby office on the lower floor.
- Second and third keys: In separate office rooms on the second floor.
Search both upstairs rooms before returning to the ground floor. Collect all three keys before heading toward the core controls.
7. Prepare for the 35% event
Have tape ready before starting the core sequence. Then:
- Return to the ground floor.
- Continue forward and go up to the controls.
- Turn on the power.
- Insert all three keys.
- Press the red button.
Watch the progress indicator. At 35%, a monster charges toward the core, and you need to go down and tape the hole.
Keep clear of the dead monster. Touching its body kills you. Leave space around it while approaching the repair point.
After taping the hole, wait for the core to reach 100%. Stay through the brief wait afterward; the teleport follows completion. Once you arrive, walk forward to finish the escape.
Mistakes to Avoid: Returning Gear and Performance
8. Reclaim weapons after Update 1.2
If you last played before Update 1.2, an empty weapon inventory does not mean your progress disappeared. The update introduced a new saving system, while preserving your kills.
Visit the weapon shops to re-equip your previously owned weapons for free. Do this before spending time trying to replace equipment you already unlocked.
Update 1.2.0 also adds wraps, attachments, new bosses, and improved graphics.
9. Adjust performance settings and understand Hub access
If your device struggles, set graphics to low and enable performance mode.
The Teleport to Hub pass adds a button that takes you to the Hub and lets you access levels you have previously visited. Entering the Hub itself does not require that pass. Decide whether you want the teleport convenience before purchasing it.
Continue with
 The Backrooms With Guns Ending: Complete Escape GuideReach The Backrooms With Guns ending with a step-by-step escape route, all three key locations, and the core repair you need before the charge hits 100%.
More in Guide
The Backrooms With Guns Game Passes Sold In Experience
Explore The Backrooms With Guns game passes sold in experience, including Robux prices, PvP restrictions, Hub access, and shop shortcuts before you buy.
The Backrooms With Guns How to Escape: Complete Guide
The Backrooms With Guns how to escape guide: get Bloxy Cola, find all four keys, activate the core, and survive the 35% repair to reach the surface safely.
The Backrooms With Guns How To Get Kills Fast: Guide
The Backrooms With Guns how to get kills fast: use Classic mode, try the RPG corner method, and fix lag or missing weapons before your farming session.
The Backrooms With Guns How To Get Reality Mode Guide
The Backrooms With Guns how to get reality mode: follow the Bloxy Cola quest, find the hidden exit, unlock menu access, and complete the stabilizer event.
Join the community
Official channels for news, updates and player help: