The Backrooms With Guns All Levels: Routes and Tips
Explore The Backrooms With Guns all levels, learn the Level ! route, navigate Stormy Office, and use The Hub to revisit areas you have already discovered.
Jump to
Which Levels and Areas Can You Explore?
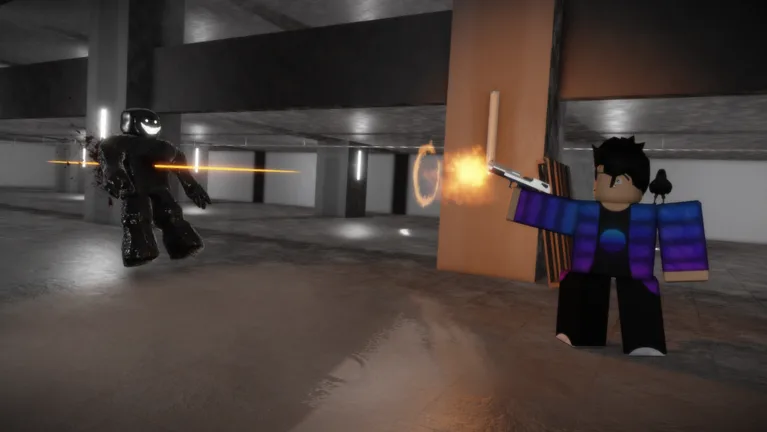
One boarded door can turn an exploration run into an unarmed chase. This The Backrooms With Guns all levels guide covers named destinations and the connections through Stormy Office and Level !. Learning those routes helps you find weapon shops, follow the escape quest, and prepare before entering dangerous areas.
The game's locations include The Lobby, Lurking Danger, The Bridges, Stormy Office, The Poolrooms, The End, and Level !. Other destinations include Reality, Above Ground, The Void, and You Cheated, while The Hub provides access to previously visited levels.
Several connections are especially useful when planning a route:
| Starting area | Destination | Connection |
|---|---|---|
| The Bridges | Level ! | Boarded door requiring a crowbar |
| The Bridges | Stormy Office elevator | One-way connection through a door |
| Stormy Office upstairs | The End | Elevator |
| Stormy Office damaged section | The Poolrooms | Door farther into the damaged area |
| Level ! | The Lobby | Final door beyond the main chase hallway |
The Bridges has connections to both a chase level and the Stormy Office elevator. Choose your destination before going through a door.
Official page: The Backrooms With Guns (roblox.com)
Stormy Office: Shops, Escape Quest, and Exits
Stormy Office has three major sections: upstairs, downstairs, and the damaged area. Its lit offices offer breathing room, but the broken, darkened section contains Smilers and Insanities.
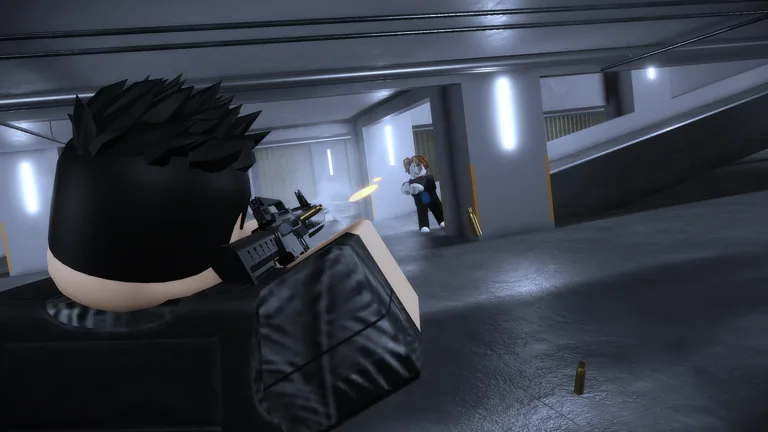 Image: Roblox / Floridoit
Upstairs: Start the Escape Quest
The upstairs area has no entities or environmental hazards. It contains the Suspicious Man, the staircase downstairs, the entrance to the damaged section, and the elevator to The End.
Talk to the Suspicious Man to begin the exit questline. He can help you escape to Reality if you give him a Bloxy Cola.
Keep these branches separate while exploring:
- Take the stairs to search for Miguel's weapon shop.
- Use the elevator to travel to The End.
- Enter the damaged section to reach the route toward The Poolrooms.
Downstairs: Find Miguel's Shop
Miguel sells high-tier weapons for large amounts of kills. His shop sits behind a door among the downstairs offices.
Search those offices when you want to upgrade your firepower. The staircase back upstairs is the section's only exit, so return that way when you finish shopping.
Damaged Section: Reach The Poolrooms
Broken windows, rushing wind, and failed lighting distinguish this section from the maintained offices. Smilers and Insanities spawn here, with up to two of each type present at once.
Use fast-firing or heavy-hitting weapons against them. In Survival, watch your ammunition between waves, since that mode limits your supply.
A door farther into the damaged area leads to The Poolrooms.
Level !: How to Enter and Survive the Chase
Level ! removes your weapons upon entry and isolates you even when other players enter at the same time. The objective is to escape the pursuing entities.
Follow this route:
- Collect the crowbar in Lurking Danger. It leans against a pillar.
- Find the boarded door in The Bridges. Use the crowbar to enter Level !.
- Walk through the starting hallway. Movement is slower here, and sprinting is disabled.
- Run through the main hallway. Maneuver around the beds and office chairs while the horde pursues you.
- Continue through the ending room. Take the final door back to The Lobby.
The pursuing horde includes Hounds, Skin-Stealers, Insanities, and Smilers. Without your weapons, you cannot kill them during the chase.
Steer around furniture instead of relying on jumps to clear it. Beds and chairs obstruct your movement, and jumping behaves differently in this level. Keep moving toward the exit rather than stopping to fight.
Revisiting Levels and Preparing Your Loadout
The Teleport to Hub game pass costs 299 Robux. It adds a button at the top of the screen that takes you to The Hub, where you can access levels you have previously visited.
You do not need the pass to enter The Hub. Its paid feature is the teleport button, and access through The Hub applies to previously visited destinations.
Choose your mode with its resource rules in mind:
- Classic: PvE with infinite health and ammunition.
- Survival: PvE with limited health and ammunition.
- PVP: Combat against other players.
Update 1.2.0 added weapon wraps, attachments, and new bosses. Returning from a version before Update 1.2? Visit the weapon shops to re-equip your previous weapons for free. The new saving system initially leaves those weapons out of your inventory, but your kills remain saved.
Recover that loadout before entering Stormy Office's damaged section. For Level !, prepare to navigate the chase: your weapons are removed when you enter.
Continue with
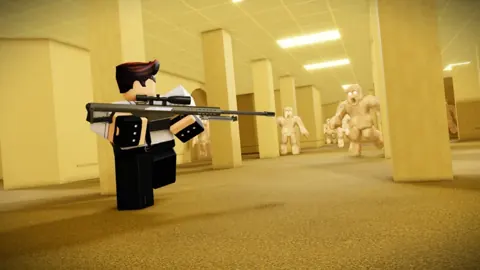 The Backrooms With Guns Level Run: Escape Level ! GuideMaster The Backrooms With Guns level run: find the crowbar, enter Level !, dodge beds and chairs, and reach the final door that takes you to The Lobby.
More in Levels
See all Levels
Continue exploring
The Backrooms With Guns Beginner Guide: Escape Tips
The Backrooms With Guns beginner guide covers modes, early weapon unlocks, Bloxy Cola, and the escape route. Learn the key steps and avoid deadly mistakes.
The Backrooms With Guns Miguel: Shop & Unlock Guide
Find The Backrooms With Guns Miguel in the Stormy Office, compare all four weapon unlocks, and learn how to recover your gear after the Update 1.2 reset.
Join the community
Official channels for news, updates and player help: